Guide for viewers
To enable the sign language interpreter window in meetings with Sign Language interpretation enabled:
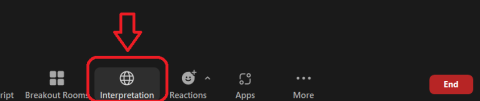
- Click the Interpretation button at the bottom of the Zoom screen taskbar.
- Note: If you are on a smaller screen, this may be found in the More "..." taskbar button
- Click Watch next to the desired sign language when available.
- You will now have a dedicated window that you can keep open at all times and scale to your preferred size.
To disable the sign language interpreter view, click the Interpretation button again and click Sign Language Off
Guide for hosts
As a host, you can assign interpreters while scheduling a meeting or in the meeting in progress.
To add an interpreter during scheduling:
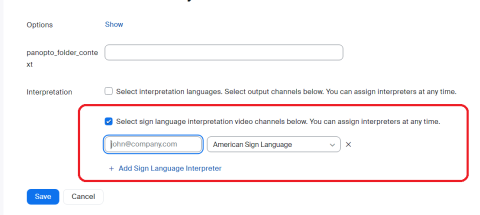
- In the scheduling view, scroll to the bottom of the page and check the Interpretation option
- Enter the email address of your interpreter. If you have multiple interpreters, click Add Sign Language Interpreter and enter your additional interpreter's email address.
- Click Save to complete your scheduling, and your interpreters will receive a unique link to be used to join as a pre-assigned interpreter.
- Note: this join link does not need to be an active Zoom account. Similar to an exemption or a webinar panelist link, this is unique and should NEVER be shared.
- If you do not know your interpreter's emails until the meeting, you don't need to add an email but the Sign Language Interpretation setting does need to be checked.
To add an interpreter in the meeting once interpretation is enabled in the steps above:
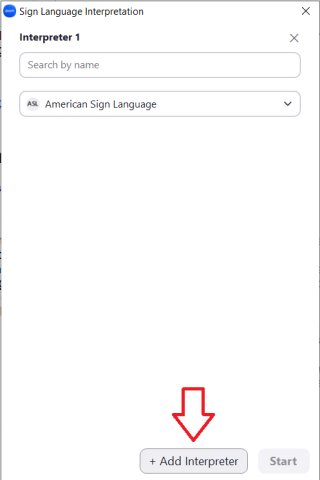
- Click the Interpretation button at the bottom of the Zoom screen taskbar.
- Click + Add Interpreter to include a new interpreter.
- Enter the name of the person that is in the current meeting or webinar to be added as an interpreter.
- Note: Predictive text names will dropdown as you type, and you must select from the names in the dropdown to correctly assign.
- If you have multiple interpreters, repeat steps 2 and 3.
- Click Start (or Update, if you are adding interpreters after the first person is assigned.
By default, interpreters' microphones are disabled once they are assigned as interpreters. You can re-enable interpreter microphones by clicking Allow to Talk next to their name in the Participants window. This will also include their camera on the main Zoom session when enabled.
Important: the Sign Language Interpretation will not be included in the cloud recording. If this is a requirement, please ensure the interpreter is "Allowed to Talk" for the entire session.
Guide for Interpreters
If possible, please contact your event coordinator ahead of time to confirm your email address for assigning the interpreter role.
Microphone audio:
Once you are in the session, by default, your microphone will be disabled. You may still interact with the session via in-meeting chat, and you can coordinate with the host to enable Allow to Talk if needed. Once that is enabled, your video and microphone will send to both the sign language window and the main session video.
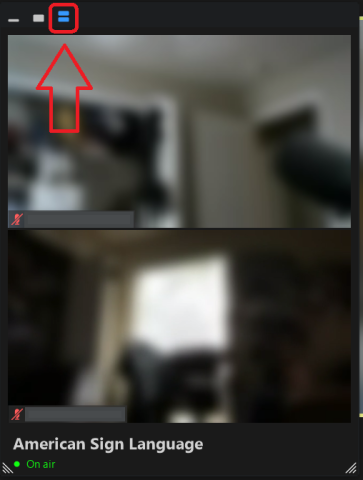
Window view
In your sign language interpretation view, you can adjust whether you can see all language interpreters by selecting the Show Thumbnail Video on the interpretation window toolbar . This is recommended as you can see all interpreters active with cameras on to coordinate hand-off of interpretation.
When in the session, the standard "camera on when active" workflow is preferred. The viewing attendees will only see the interpreter camera that is currently active.